User Management section in the PRC Schedule Simulator can be viewed only by those users who have either Read/Write or View Only Access. Users with only Read/Write access can create a new user, edit users, add a project for a selected user, delete a user, un-assign a project to a user, and change the access privileges of users.
Users designated with View Only Access may view specific pages, select a user, view user details and view projects assigned. Access to editing functions is not available to these users.
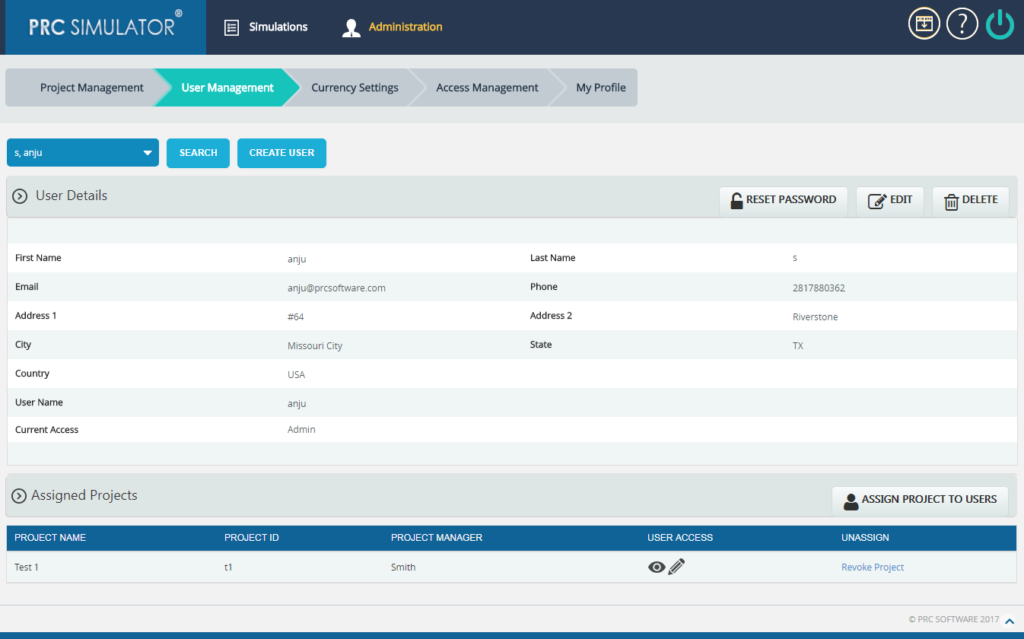
Figure 1
1.2.1 Creating a New User:
Creating a new user in the PRC Schedule Simulator is quick and easy. Enter as much information as possible about the user, when a new user is created. The Landing Page sets the first page the user sees upon login.
Steps:
- Administration —> User Management
- Click the CREATE USER button. (Figure 1)
- After entering the user data, click the SAVE button. (Figure 2)
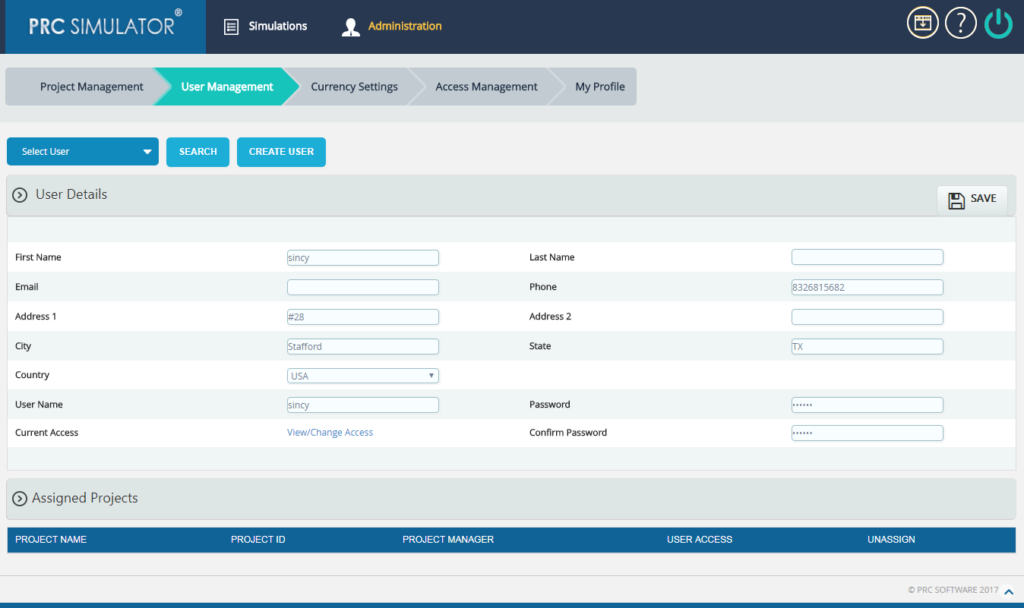
Figure 2
1.2.2 Editing user information:
When editing user details in the PRC Schedule Simulator, all the fields are unlocked and user can modify all user details as needed.
Steps:
- Administration —> User Management
- Select the required user from SELECT USER dropdown whose details has to be modified. (Figure 2)
- Click the EDIT button. (Figure 1)
- After the data is modified, click the SAVE button. (Figure 2)
1.2.3 Reset Password:
This functionality is used to change the password of the selected user.
Steps:
- Administration —> User Management
- Select the required user.
- Click the RESET PASSWORD button. (Figure 1.8) A pop up appears. (Figure 3)
- Enter the New Password and Confirm Password and click the CHANGE PASSWORD button to finish. (Figure 3)
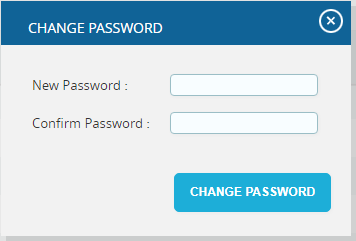
Figure 3
1.2.4 Assign New Project to User:
This functionality helps to assign projects to a selected user. The Project is selected directly and assigned to the user.
Steps:
- Administration —> User Management
- Select the required user from SELECT USER dropdown. (Figure 2)
- Click the ASSIGN PROJECT TO USERS button. (Figure 1)
- Search for project and Select. (Figure 4)
- To continue, click the NEXT STEP (Figure 4) A pop up (Figure 5) from which user access can be set.
- After modifying access, click the FINISH button (Figure 5) to save changes.
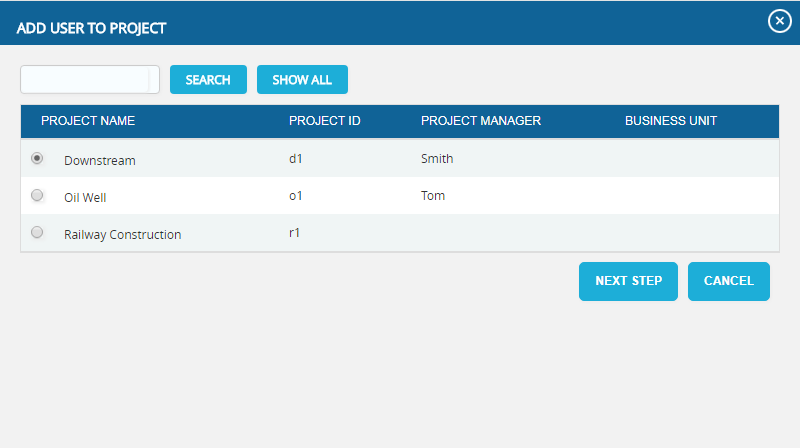
Figure 4
The SHOW ALL button (Figure 4) lists all the projects available from which user can select the required project. If the user knows the project they are searching for, they can enter the name and click the SEARCH button. (Figure 4)
The CANCEL button cancels the projects selected for user. (Figure 4)
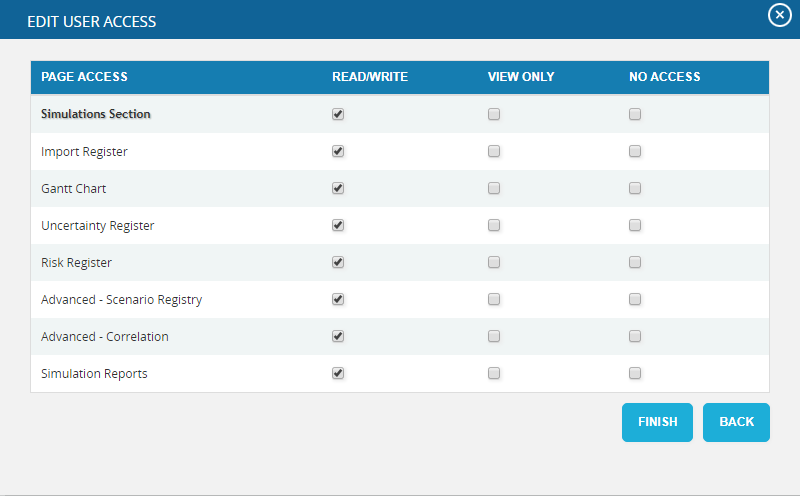
Figure 5
1.2.5 View / Edit Access:
In order to remove a project assigned to a user, click the Revoke Project link corresponding to each project under the Assigned Project section. (Figure 1)
Steps:
- Administration —> User Management
- Select the required user from SELECT USER dropdown. (Figure 2)
- Click the VIEW/EDIT icon to view or edit individual project´s user access.
- After modifying access in the pop up appears, click the FINISH button to save changes. (Figure 5)
1.2.6 Revoke Project:
In order to remove a project assigned to a user, click the Revoke Project link corresponding to each project under the Assigned Project section. (Figure 1)
Steps:
- Administration —> User Management
- Select the required user from SELECT USER (Figure 2)
- Click Revoke Project link corresponding to the project to be revoked. (Figure 1)
- A pop up appears. (Figure 6) Click OK to revoke or click Cancel.
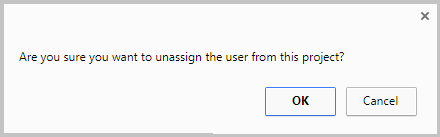
Figure 6
1.2.7 Deleting Users:
In order to delete a user, the user logged in should have Read/Write access for delete function. The deleted user will be removed from the system. Once the user is deleted, the action cannot be undone. The Super user and the logged in user cannot be deleted.
Steps:
- Administration —> User Management
- Select the required user from SELECT USER dropdown. (Figure 2)
- Click the DELETE button. (Figure 1)
- The user receives the confirmation message and then click OK button. (Figure 7) The user is now removed from the system.
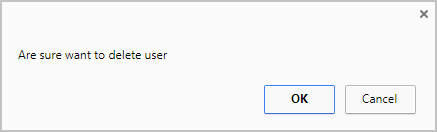
Figure 7
1.2.8 Searching For Users:
Searching for users can be done in two different ways. The Search function allows the user to search based on a keyword. This method is faster when working with a large amount of data. The Select function is commonly used for smaller databases or when the search objective is easy to define.
Using the search function:
Steps:
- Administration —> User Management
- Click the SEARCH button. (Figure 2)
- Enter the name (which can be either first name or last name or both) or user name. Click the SEARCH button and select the required user. (Figure 8)
- The SHOW ALL button in the search area lists all users available. (Figure 8)

Figure 8
Using the select function (dropdown list):
Steps:
- Administration —> User Management
- Click the SELECT USER dropdown. (Figure 2)
- Select the required user from the list shown.
1.2.9 Current Access:
This functionality helps to view/change the user access to all the pages by assigning a particular role to the user.
Steps:
- Administration —> User Management
- Select the required user from SELECT USER dropdown. (Figure 2)
- Click the EDIT button. (Figure 1)
- Click View/Change Access link. (Figure 2) A pop up appears. (Figure 9)
- Select a role from the Select Role dropdown and click ASSIGN ROLE button. (Figure 9)
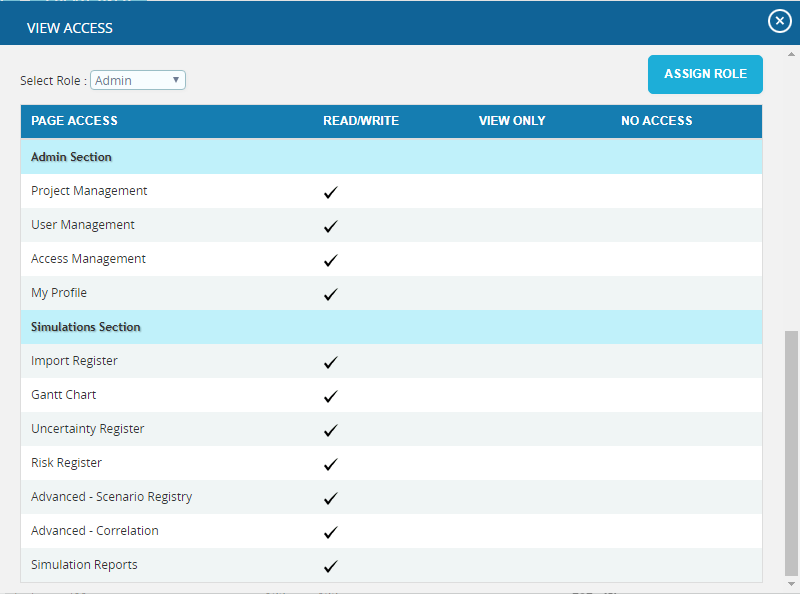
Figure 9